314.984.0005
314.984.0005
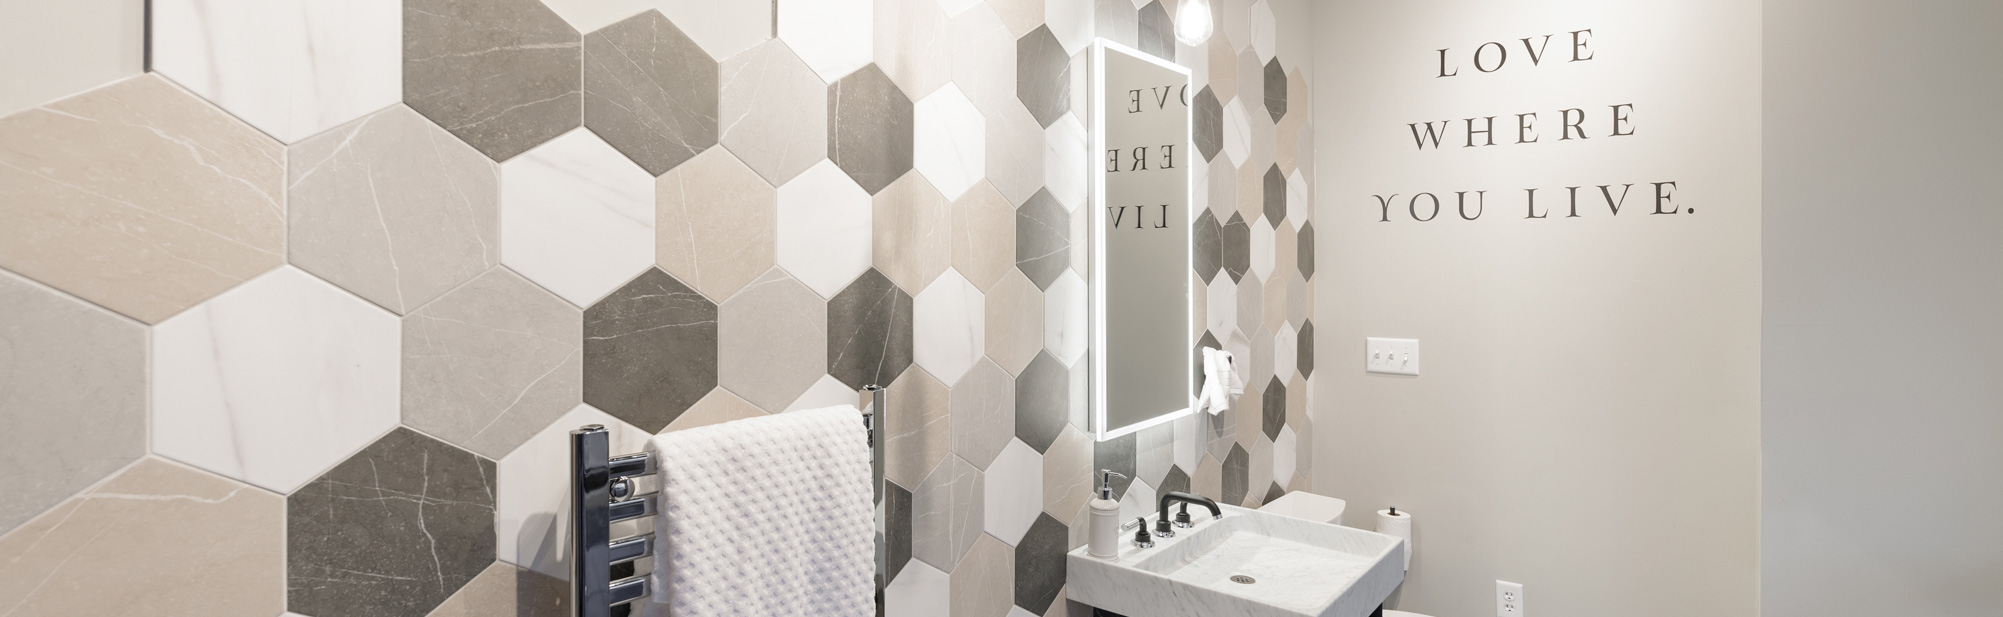
Designing for Your Space - Planning an efficient layout and following recommended design guidelines can help ensure that you end up with a stylish bathroom that's safe, functional, and comfortable.
Use these sample floor plans to gather ideas about placement of elements. Whatever the size of your bath, keep in mind that the more walls that contain plumbing pipes, the higher the price tag. If budget is a concern, limit plumbing fixtures to one wall; for the greatest design flexibility, opt for a three-wall layout.
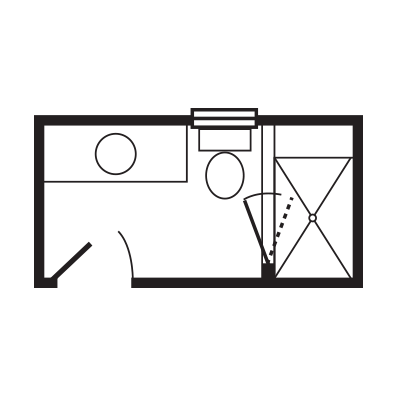
THREE-QUARTER BATH (NO TUB)
All plumbing on the same wall saves labor and supply expenses. With only one sink and a shower, this is a popular and hardworking plan.

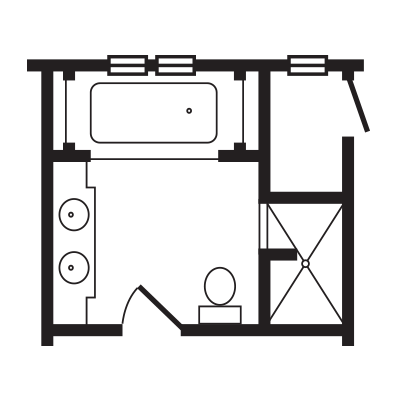
FULL BATH
A tub/shower combination is a good choice for many baths. The tub's end wall and the way the door opens help keep the toilet separate from the rest of the space. There is room for a long vanity with two sinks.
POSH BATH
The large tub is framed by an alcove with end shelves, and the double vanity saves space with shallow ends. The walk-in shower saves money because it doesn't require a door.
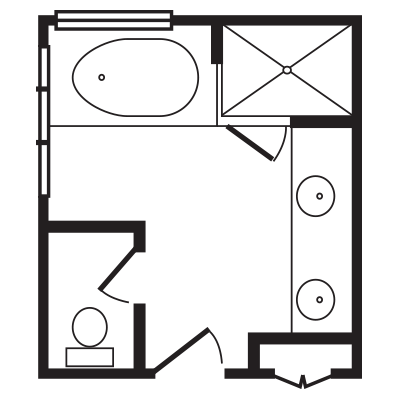
POSH PLUS BATH
This plan has it all: a separate shower, a corner tub under windows, a double vanity, and a private toilet compartment.
Are you planning a master bathroom that can easily accommodate two users during the morning rush hour? Consider including a separate shower-or better yet, a walk-in shower with multiple shower heads. Install dual vanities on separate walls to enhance convenience, and include the toilet in a private enclosure.
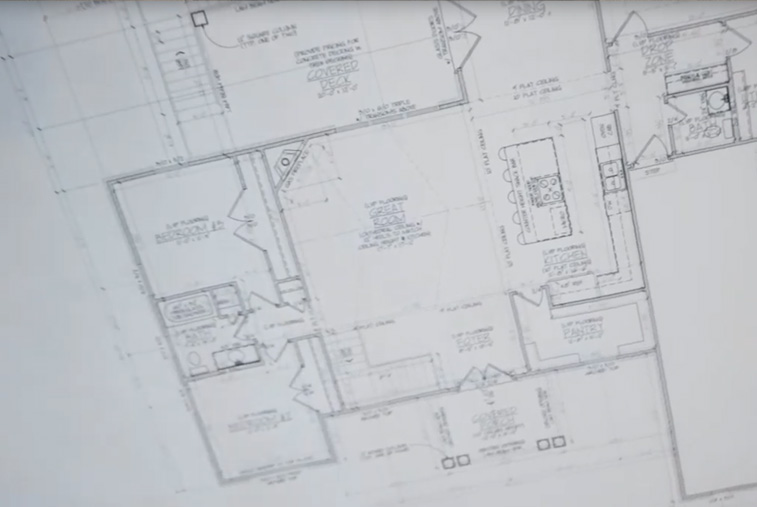
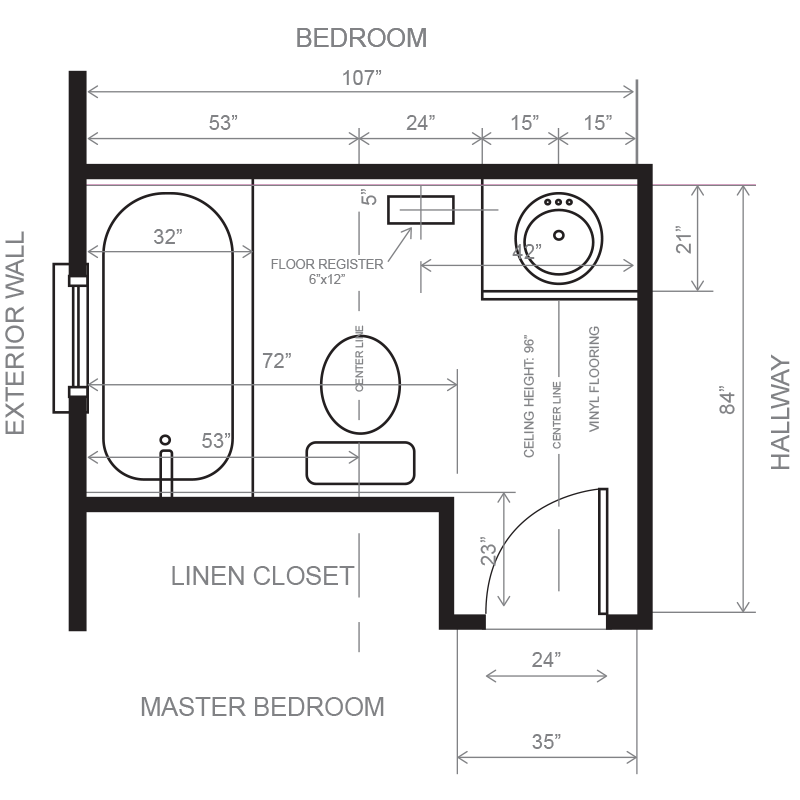
Step 1: Measure the Overall Room
Draw a diagram of your bathroom, locating all windows and doors in their approximate positions. Note on the drawing the overall wall lengths of each wall. Start at the door opening and continue clockwise around the room.
Notes:
Step 2: Label and Measure Doors and Windows
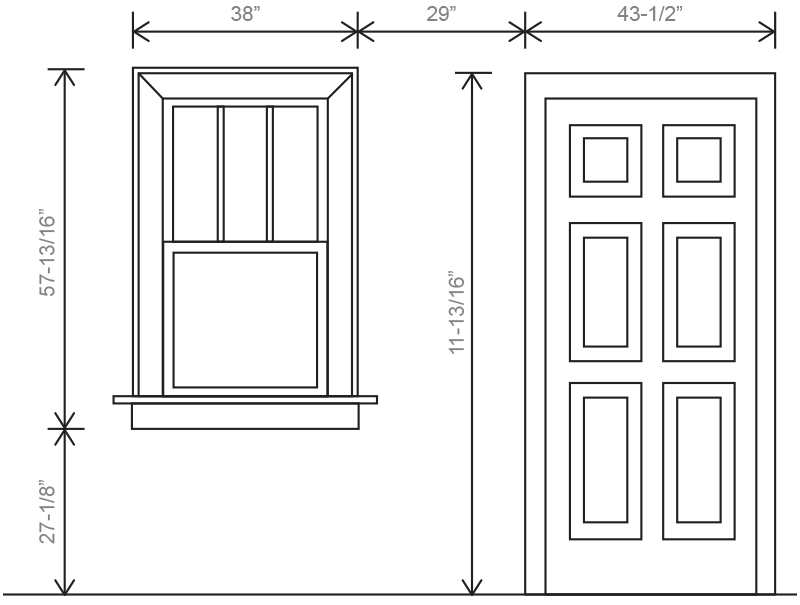
Step 3: Identify and Measure Unmovable Obstructions
Step 4: Measure the Height of the Ceiling
Measure the ceiling height and write it in the center of your drawing. Sometimes, especially with older homes, it is a good idea to take measurements in a few different areas of the bathroom. Ceiling heights, even in the same room, can sometimes vary by as much as several inches. If it varies, write down both the low and high measurements.
Step 5: Check your Measurements
Check your measurements. If your room is rectangular add up the measurements of the parallel walls and make sure they match (or are at least very close). For example, in our sample drawing, you would take the overall measurements of the top wall and add them together. Then do the same with the bottom wall. Once you have added each wall measurements check the totals to see if they match.
How big is your space? Who will use this bathroom? How will the kitchen be used? Where will you put things? Facing so many choices can be daunting but don't worry, here are easy steps that will help you get organized.
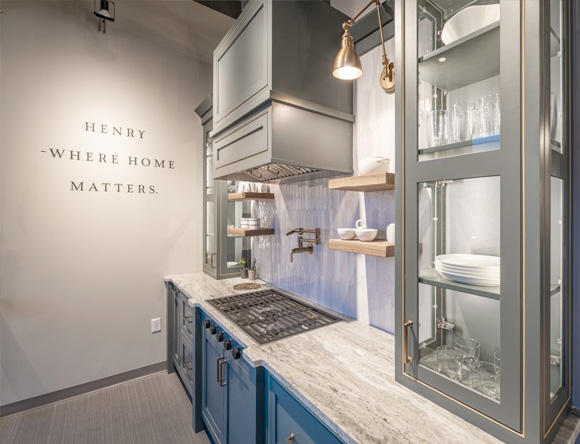
Browse our beautiful showrooms for the latest ideas and trends in modern kitchen and bath design.
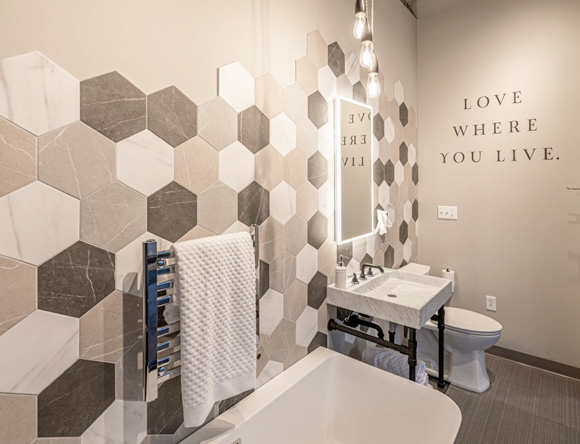
Planning an efficient layout and following recommended design guidelines can help ensure that you end up with a stylish bathroom that is safe, functional, and comfortable.
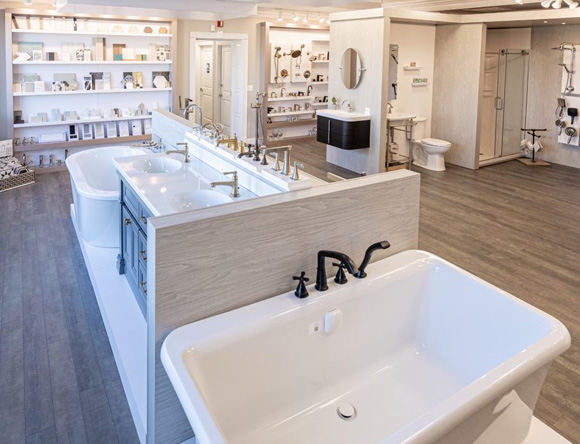
If you are thinking about renovating your master bath, powder room, or guest bathroom, the dedicated in-house design team at Henry Kitchen & Bath can help you design the perfect bathroom for you and your family.
Plan Your Bathroom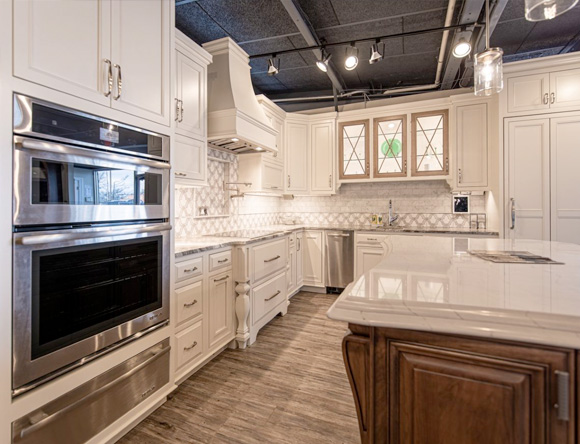
While a kitchen renovation or remodel may seem like an overwhelming task, creating your dream family kitchen is easy with a virtual consultation with one of our Henry Kitchen & Bath designers.
Plan Your Kitchen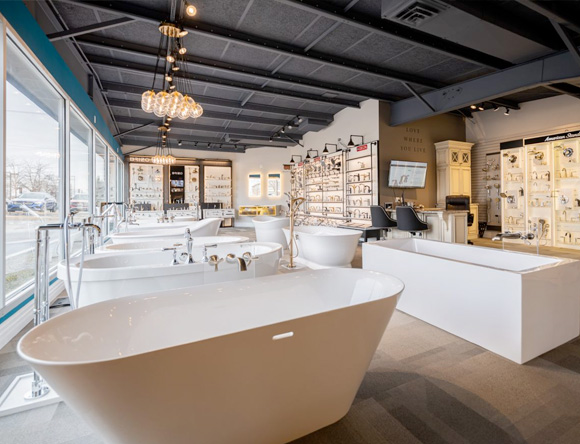
Now that you have a vision for your new kitchen and bath, consider its physical properties. Click below for a thorough checklist to get your project moving in the right direction.