314.984.0005
314.984.0005

Designing for Your Space - Planning an efficient layout and following recommended design guidelines can help ensure that you end up with a stylish bathroom that's safe, functional, and comfortable.
These sample floor plans illustrate six popular kitchen layouts. The work triangle distance between the refrigerator, sink, and stove is shown on each floor plan. A natural flow between the fridge/freezer, the range and the sink will increase efficiency and workflow in the kitchen.
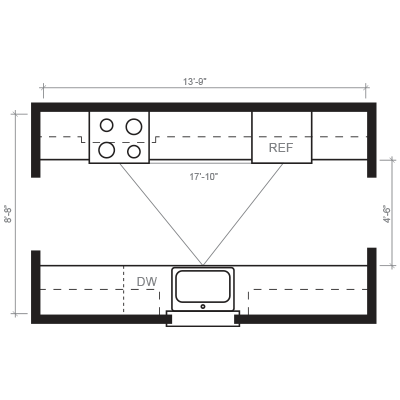
GALLEY KITCHEN
Galley kitchens allow for additional food preparation and storage area.
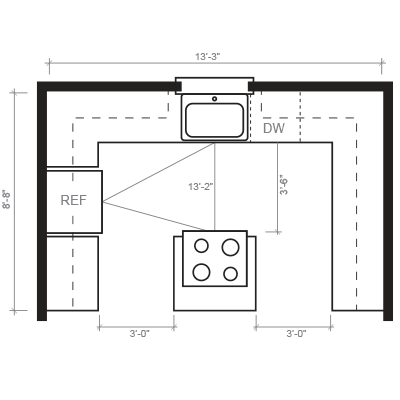
ISLAND KITCHEN
If space allows, adding an island to your kitchen allows you to have extra storage, and additional counter/entertainment space or even relocate your oven/range.
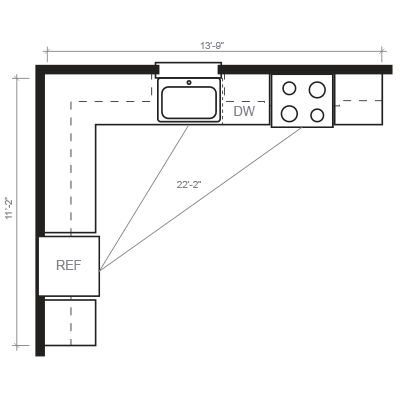
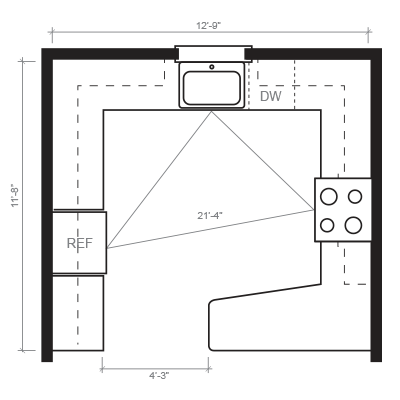
"L" SHAPED KITCHEN
L-shaped kitchens make the most of a corner. The use of the corner allows for an addition of a dining table or island.
PENINSULA KITCHEN
This layout allows homeowners additional work area and additional dining and entertainment space.
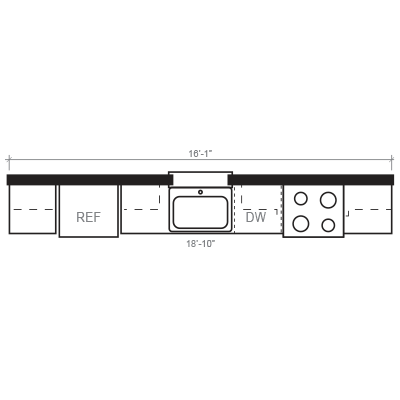
STRAIGHT-LINE KITCHEN
When space is limited, Straight-line kitchens are a good solution.
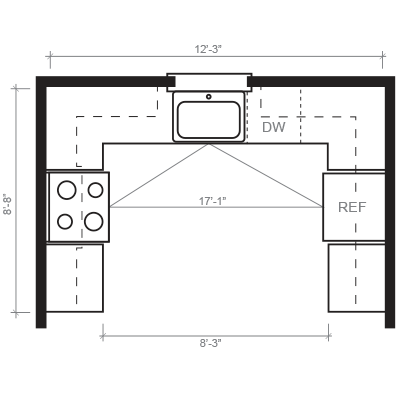
"U" Shaped Kitchen
U-Shaped layouts allow for plenty of storage options and work surfaces.
Step 1: Your Kitchen Shape
Draw your kitchen as a box showing all the walls that you think will have cabinets. Be sure to include any major structural features or obstacles.
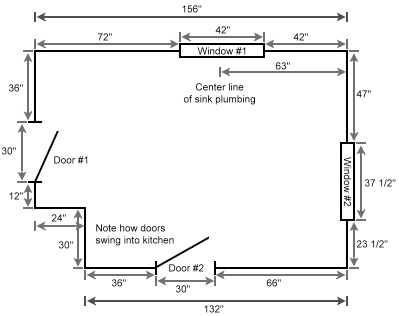
Step 2: Draw It Out
Mark any openings such as windows and doorways. Be sure to include radiators or other obstacles that affect where cabinets can be installed. Now, label all the openings in your kitchen. In this sketch we’ll use areas “A” through “I”. Record these letters as a key on your sketch.
Step 3: Measure
All you need is a tape measure, pencil and paper. Measure all the openings, from outside edge to outside edge. If you’re uncomfortable with precise measurements feel free to round to the nearest inch. Remember this is just to get started, your designer will confirm details later.
Step 4: Your Layout
Most people already have a good idea of where the major items will go in their kitchen. Feel free to draw your ideas of what you would like and include the placement of your sink and appliances.
Step 5: Pictures of Your Kitchen
Photographs will always help your designer. Any photos you can take and send them along with your measurements.
Notes:
Measure the ceiling height and write it in the center of your drawing. Sometimes, especially with older homes, it is a good idea to take measurements in a few different areas of the bathroom. Ceiling heights, even in the same room, can sometimes vary by as much as several inches. If it varies, write down both the low and high measurements.
Check your measurements. If your room is rectangular add up the measurements of the parallel walls and make sure they match (or are at least very close). For example, in our sample drawing, you would take the overall measurements of the top wall and add them together. Then do the same with the bottom wall. Once you have added each wall measurements check the totals to see if they match.
How big is your space? Who will use this bathroom? How will the kitchen be used? Where will you put things? Facing so many choices can be daunting but don't worry, here are easy steps that will help you get organized.
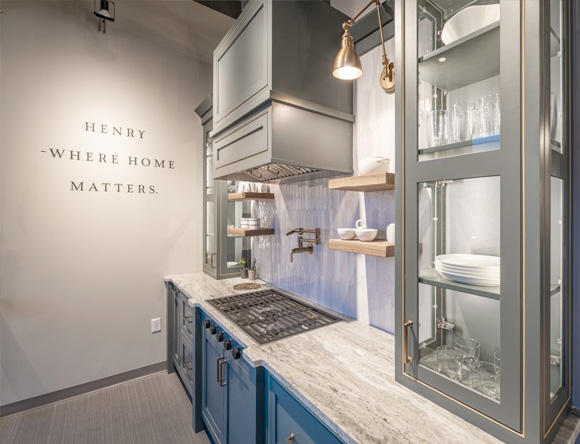
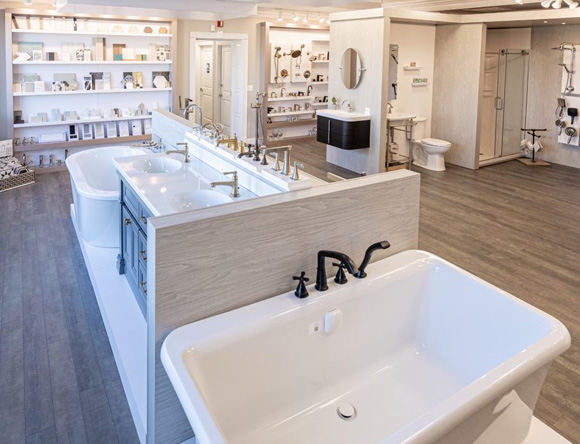
Browse our beautiful showrooms for the latest ideas and trends in modern kitchen and bath design.
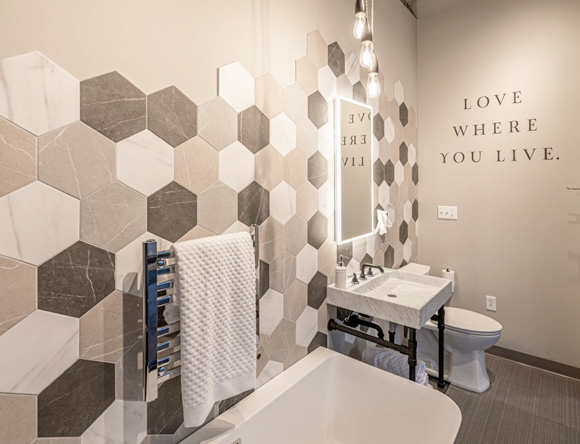
Planning an efficient layout and following recommended design guidelines can help ensure that you end up with a stylish bathroom that is safe, functional, and comfortable.
If you are thinking about renovating your master bath, powder room, or guest bathroom, the dedicated in-house design team at Henry Kitchen & Bath can help you design the perfect bathroom for you and your family.
Plan Your Bathroom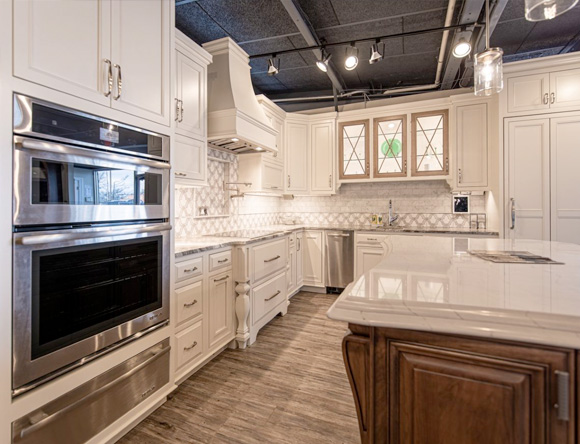
While a kitchen renovation or remodel may seem like an overwhelming task, creating your dream family kitchen is easy with a virtual consultation with one of our Henry Kitchen & Bath designers.
Plan Your Kitchen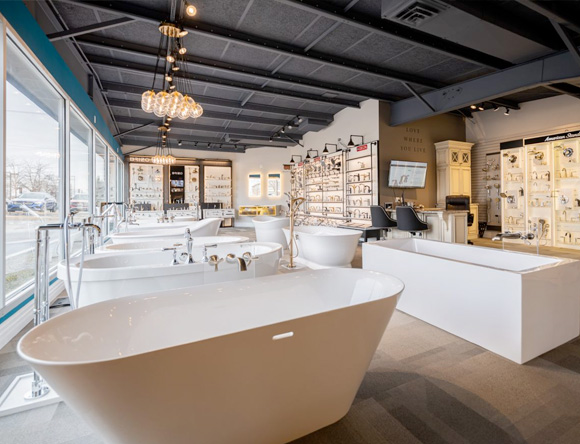
Now that you have a vision for your new kitchen and bath, consider its physical properties. Click below for a thorough checklist to get your project moving in the right direction.